Start Here
Recipes
Courses
Livestreams
Blog
Subscription
Shop
Sign in
Subscribe
Raw Food Blog
Raw Food Blog
My First Raw Christmas Dinner
Raw Food Blog
What is Raw Food?
Raw Food Blog
Liquid Zeolite: The 30-seconds-a-day Mineral Detox
Raw Food Blog
My Walk with Synchronicity
Raw Food Blog
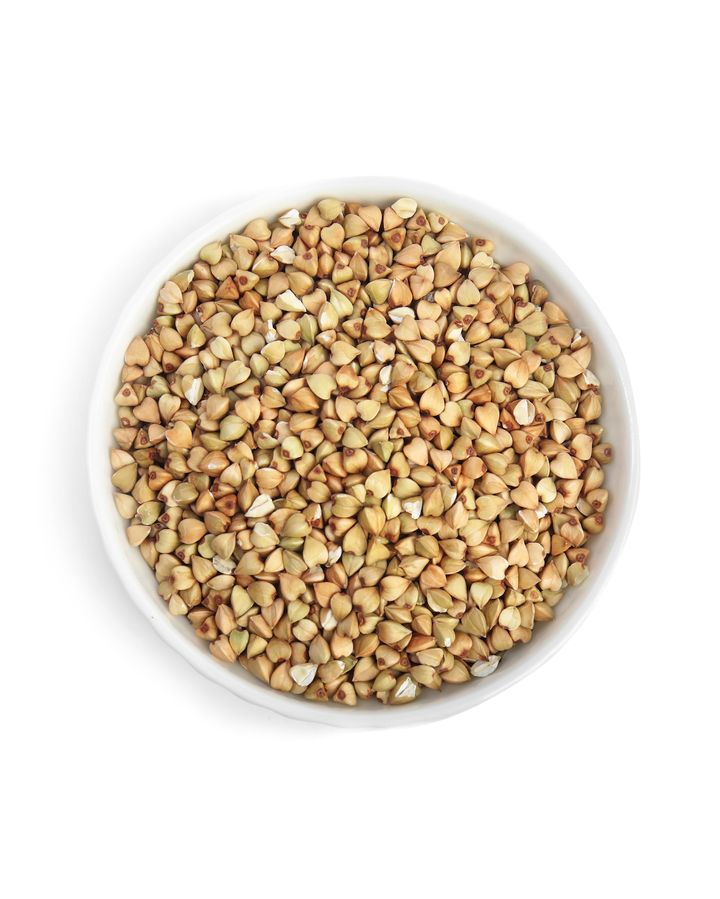
How To Sprout Buckwheat
Raw Food Blog
How to dehydrate in an oven
Raw Food Blog
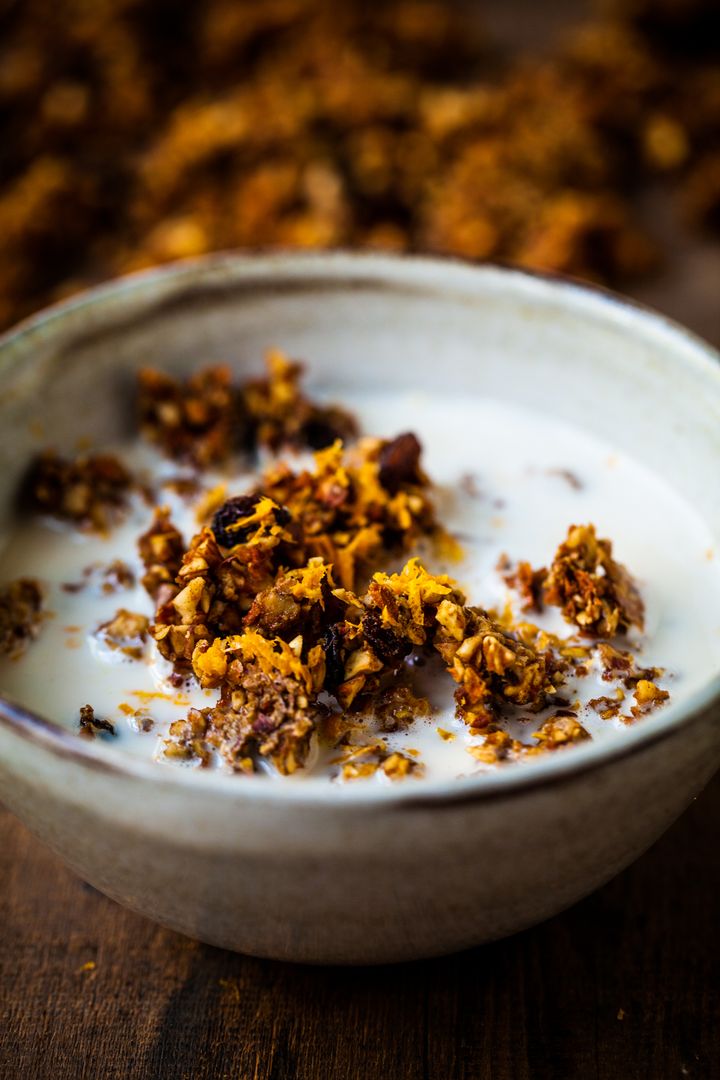
Top 5 Most Popular Raw Vegan Breakfasts
Raw Food Blog
5 Things I Never Knew Would Happen When I Started my Raw Food Business
Raw Food Blog
How to Open Young Thai Coconuts
Raw Food Blog
7 Ways Fermented Foods Can Benefit Your Health
Raw Food Blog
Raw Food Kitchen Essentials
Raw Food Blog
Why MSG Is Bad
Privacy Policy
|
T&Cs
|
Contact